
When it comes to the Indian mobile gaming scene, Jonathan Jude Amaral, famously known as Jonathan Gaming, is a name that commands respect. Renowned for his god-level reflex and laser-like spray, many aspiring pro players look to his setup for inspiration.
While most competitive players prefer a 4-finger or 5-finger claw, Jonathan had mastered the two-finger thumb playstyle, proving that comfort and precision often trump complexity.
However, as the competition has evolved, even the Universal MVP has adapted his setup to 3 finger claw setup to stay at the top. Below is a comprehensive look at the Jonathan Gaming 3-finger claw setup, his BGMI ID, and the exact settings he uses to dominate the lobby.
Jonathan Gaming 3 Finger Claw Setup and Jonathan Gaming Controls
For the longest time, Jonathan was famous for being a Two-Finger Thumb player. In a world full of 5- and 6-finger claw users, his ability to out-aim everyone using just his thumbs and high-sensitivity gyroscope was considered “God Level.” Below is his updated three-finger claw style.
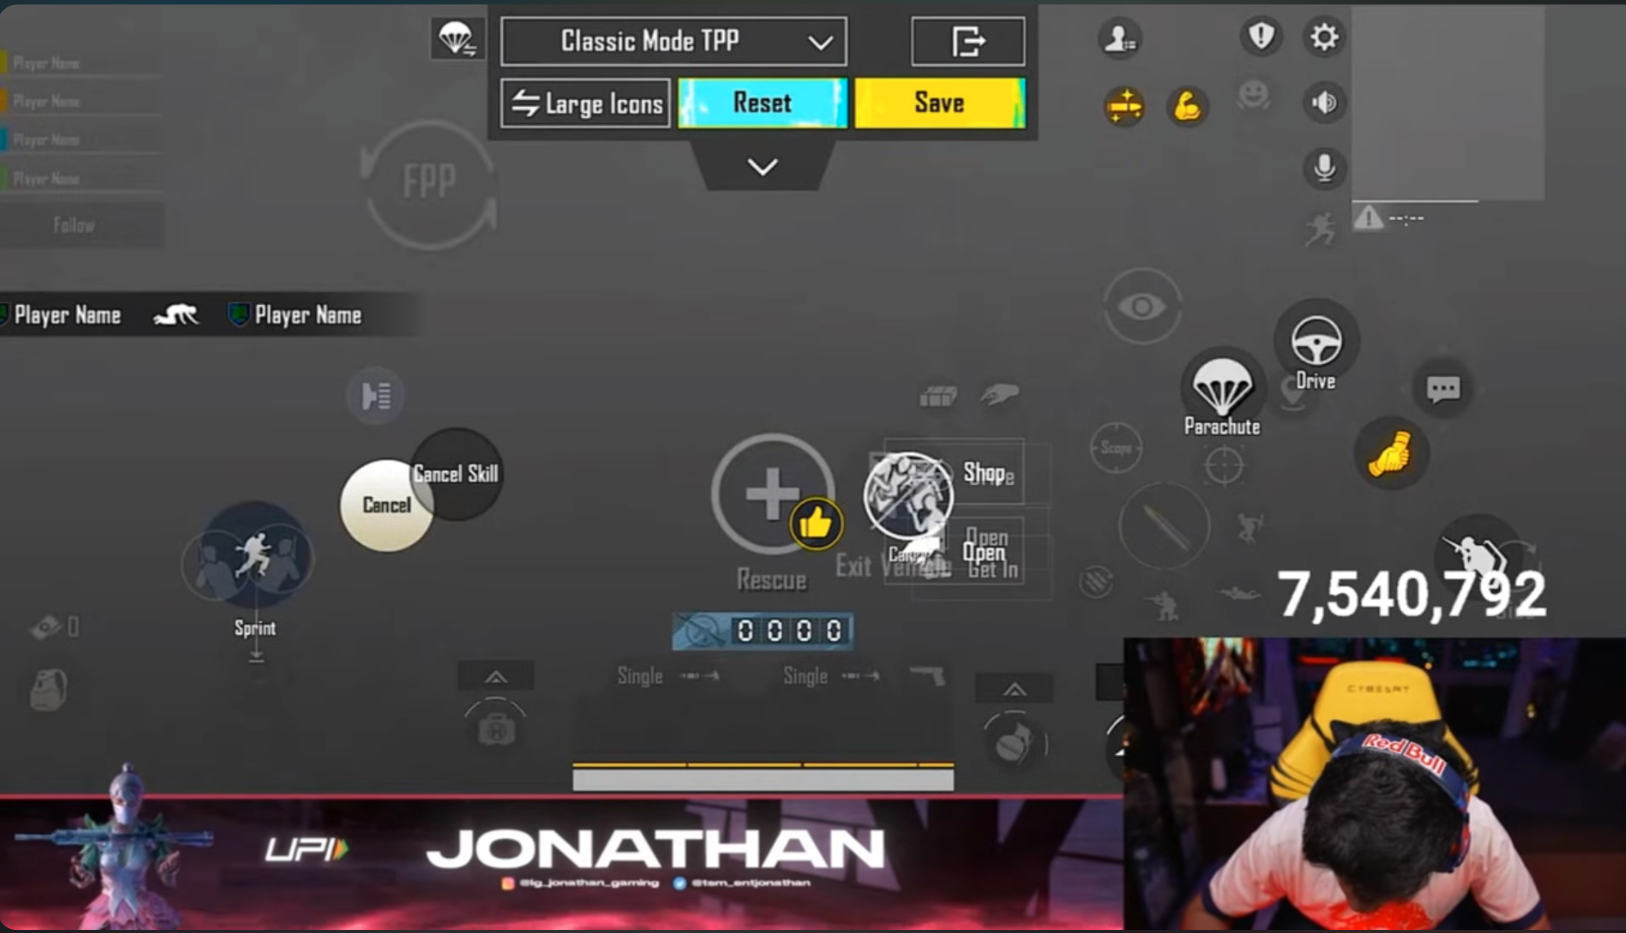
- Now he is using his left index finger to switch between TPP and FPP.
- Left Thumb (Bottom Left) is still used as a joystick for movement or Jiggle.
- Right Thumb on Bottom right is still getting used as previously, e.g., for fire, scope on/off, peak, crouch, and more.
Jonathan Gaming BGMI ID
If you want to check out his stats, achievements, or current rank in-game, you can search for him using his official UID.
- Jonathan Gaming’s BGMI ID is 5112616229
- In-Game Name (IGN): GxdLJONATHAN03
Jonathan Gaming Sensitivity Settings
Camera Sensitivity (Free Look)
- TPP (Character, Vehicle) – 100%
- Camera – 100%
- FPP (Character) – 100%
Camera Sensitivity
- TPP No Scope – 110%
- FPP No Scope – 110%
- Red Dot, Holo, Iron Sight, and Canted Sight – 88%
- 2x Scope – 88%
- 3x Scope – 24%
- 4x Scope – 24%
- 6x Scope – 12%
- 8x Scope – 10%
- TPP Aim – 120%
- FPP Aim – 120%
ADS Sensitivity
- TPP No Scope – 110%
- FPP No Scope – 110%
- Red Dot, Holo, Iron Sight, and Canted Sight – 88%
- 2x Scope – 88%
- 3x Scope – 24%
- 4x Scope – 24%
- 6x Scope – 12%
- 8x Scope – 10%
- TPP Aim – 120%
- FPP Aim – 120%
- Gyroscope Sensitivity
- TPP No Scope – 300%
- FPP No Scope – 300%
- Red Dot, Holo, Iron Sight, and Canted Sight – 300%
- 2x Scope – 300%
- 3x Scope – 240%
- 4x Scope – 260%
- 6x Scope – 240%
- 8x Scope – 85%
- TPP Aim – 120%
- FPP Aim – 120%
ADS Gyroscope Sensitivity
- TPP No Scope – 300%
- FPP No Scope – 300%
- Red Dot, Holo, Iron Sight, and Canted Sight – 300%
- 2x Scope – 300%
- 3x Scope – 240%
- 4x Scope – 260%
- 6x Scope – 240%
- 8x Scope – 85%
- TPP Aim – 80%
- FPP Aim – 80%
Read More about BGMI
- Jonathan Gaming 3 Finger Claw Setup: Controls, Settings, And More
- BGMI 4.3 Update Leaks Reveal Passive Skills Mode With Five Skills
- BGMI Lite Release Date 2026? Krafton Surveys Spark Launch Speculation
- BGMI 4.3 Update Release Date (Expected) and New Features Leaked
- Best Zero Recoil Sensitivity Codes for BGMI in 2026
Fundamental Settings
- Display Left-Side Fire Button – Always On
- Bolt Action Rifle & Crossbow Firing Mode – Tap
- Shotgun Firing Mode – Tap
- Scope Mode – Hold
- Camera Rotation while ADS – Enable
- Quick Scope Switch – Enable
- Canted Sight Button – Tap to Switch
- Focal Length Adjustment – Tap
- Peek – Enable
- Peek Mode – Hold
- Peek & Open Scope – Disable
- Camera Rotation While Leaning – Enable
- Universal Mask – Enable
- Mark Assist – Enable
- Headshot Sound Effect – Enable
- Jump/Climb – Separate
- Merge Crouch and Prone – Disable
- Quick Throw – Enable
- Throwanbles Quick Wheel – Switch
- Throw Consumables – Disable
- Transparent UI Mode – Disable
- Slide (Arena) – Enable
- FPP Swap – Enable
- FPP Dynamic Holding – Enable
- TPP – 80
- Sprint Sensitivity – 100%
- FPP – 90
- Mark Style – Classic
- Aim Assist – Disable
- Main Screen Audio Markers – Only in Aftermath
- Auto- Mark Hit Locations – Enable
- Healing Prompt – Enable
- Continuously Use Bandages – Enable
- Auto Open Doors – Enable
- Blocked Sight Warning – Enable
- Horizontal Swipe Accelerations – Enable
- Match Auto Message – Enable
- Hold to Open Map – Disable
- Show Throwables Trajectory Line – Enable
- Auto Equip Melee Weapon (Put Away Firearm) – Disable
- Default Melee Weapon Carried – Dagger
- Reload Interrupt Method – Fire Interrupt
- Auto Jump – Disable
- Tap to Mark Location – Disable
- Default Parachute Follow – Enable
Pro Tip: Jonathan often plays with Aim Assist Disabled during practice and certain matches to sharpen his raw aiming skills. If you are a beginner, you might want to keep this enabled until you master the Gyroscope.